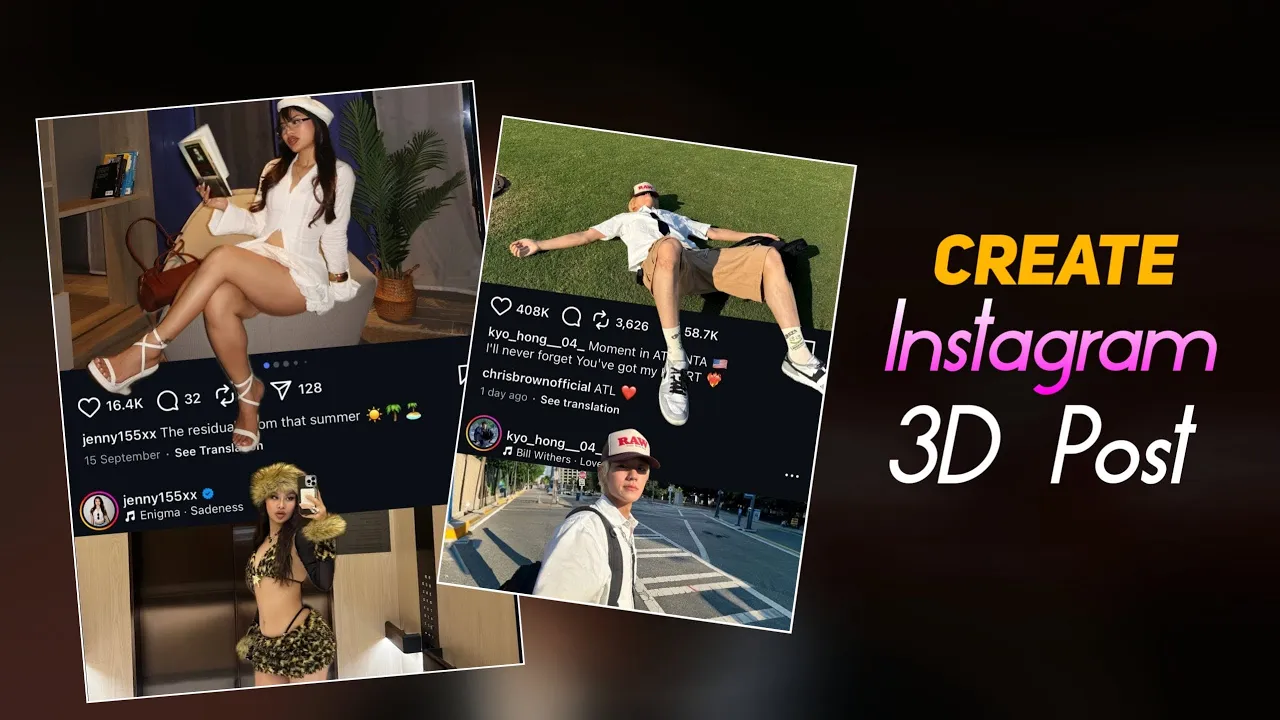
How to Create a Trending 3D Instagram Post Using PicsArt (Step-by-Step Guide)
Alright guys! You must have already seen this kind of 3D photo post trending all over Instagram these days. It looks super cool and realistic — and the best part? You can easily create it yourself using just your smartphone. In this post, I’ll walk you through a step-by-step tutorial on how to create a professional-looking 3D Instagram post using the PicsArt app.
So without wasting any time, let’s jump straight into the tutorial!
Step 1: Open Your Instagram Post
First, go to your Instagram profile and open any of your posts. Now, take a screenshot of the bottom part of the post — where the likes, comments, and share icons appear. We’ll use this screenshot later as a base layer in PicsArt.
Step 2: Open PicsArt Application
Now, open the PicsArt app. If you haven’t installed it yet, you can easily download it from the Google Play Store or App Store.
Once the app is open, tap on Edit Photo and select a background image. You can use your own photo or download one from the link provided in your source video description.
Step 3: Add the Screenshot Layer
After your main photo is added, scroll to the toolbar below and tap on “Add Photo.” Now select the Instagram screenshot you took earlier.
Crop the screenshot so that only the section showing likes and comments remains. Adjust its size and position it properly at the bottom of your canvas, just like an Instagram post layout.
Once done, click on the tick mark to confirm, then tap on Layers and lock this layer. This ensures the screenshot won’t move while editing.
Step 4: Add Your Main Photo
Tap Add Photo again and select your main image — the one you want to appear in 3D. Adjust its size and position to fit naturally with the background.
After adjusting, lock this layer too. Now we’ll start adding the cut-out version of this photo to create the 3D effect.
Step 5: Create the 3D Cut-Out Effect
Tap on Add Photo again and choose the same image. Now go to the “Cutout” option in PicsArt and select “Person.” The app will automatically remove the background using its AI feature. You can manually refine the edges using the Brush Tool if the automatic result isn’t perfect.
Once done, tap Apply (✓) and adjust this cut-out layer slightly in front of the background — as if the person is popping out of the frame. This is what gives it that cool 3D look.
Step 6: Add Extra Elements for Depth
If you want to make your design look even more professional, you can add one more version of the same photo — slightly blurred or repositioned — to give your 3D post an extra layer of depth.
Repeat the same process: Add Photo → Cutout → Adjust Position. Once all layers are set perfectly, lock them again to prevent accidental movement.
Step 7: Final Touches and Export
Now your 3D Instagram post is ready! You can enhance it by applying filters, brightness adjustments, or glow effects from PicsArt’s editing tools. Once you’re satisfied, tap on Export and save it to your gallery.
You can now post it on Instagram, Facebook, or even use it as a creative AI-style thumbnail for your reels and YouTube shorts.
Bonus Tips
- Use Remove.bg if PicsArt’s background remover doesn’t work perfectly.
- Try Canva or Photopea for adding extra effects like shadows or text overlays.
- To give a cinematic feel, add slight color grading using Adobe Lightroom.
Conclusion
And that’s it, guys! You’ve just learned how to create your very own 3D Instagram post using PicsArt — a simple but super-viral trend on social media right now. Take your time to perfect the details, and you’ll have a post that truly stands out in your feed.
If you found this guide helpful, don’t forget to like this post and subscribe to our updates for more Instagram and YouTube editing tutorials!
Keywords: 3D Instagram Post Tutorial, PicsArt 3D Editing, AI 3D Post Effect, How to Make 3D Photo, Trending Instagram Edits 2025, Faceless 3D Post Ideas